Setting up Google Cloud Storage using Windows NAS (The RNAS series appliances)
Google Cloud Storage using Windows NAS is possible because Google uses an Amazon S3 compatible (Object and Bucket based) cloud. This encompasses several storage options including multi-regional, regional, nearline, and coldline storage. Each of these looks the same to the end-user, the differences are how they are stored on Google’s side. The quick instructions to get Google Cloud Storage to work with High-Sync are:
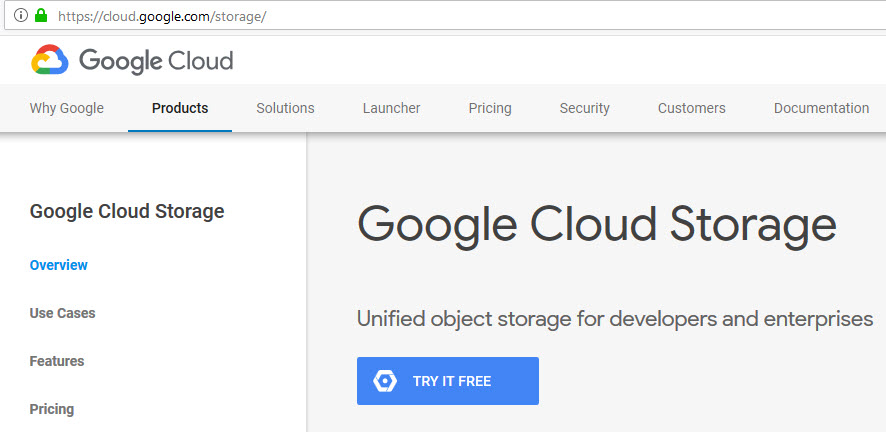
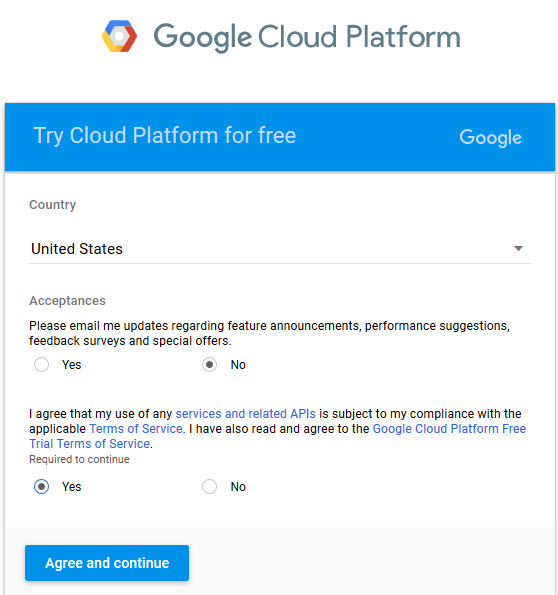
- Setup a Google Cloud Storage Account. Follow the detailed walk through below for more details. Search for Google Cloud Storage or go to https://cloud.google.com/storage and setup an account with the “Try it Free” button. You will need a credit card to complete the setup, but Google is currently giving the account free for 12 months. Create a bucket (all lowercase with no dots in the name unless you own the DNS name), and choose your storage type. In the walk through below we checked pricing and chose “regional”.
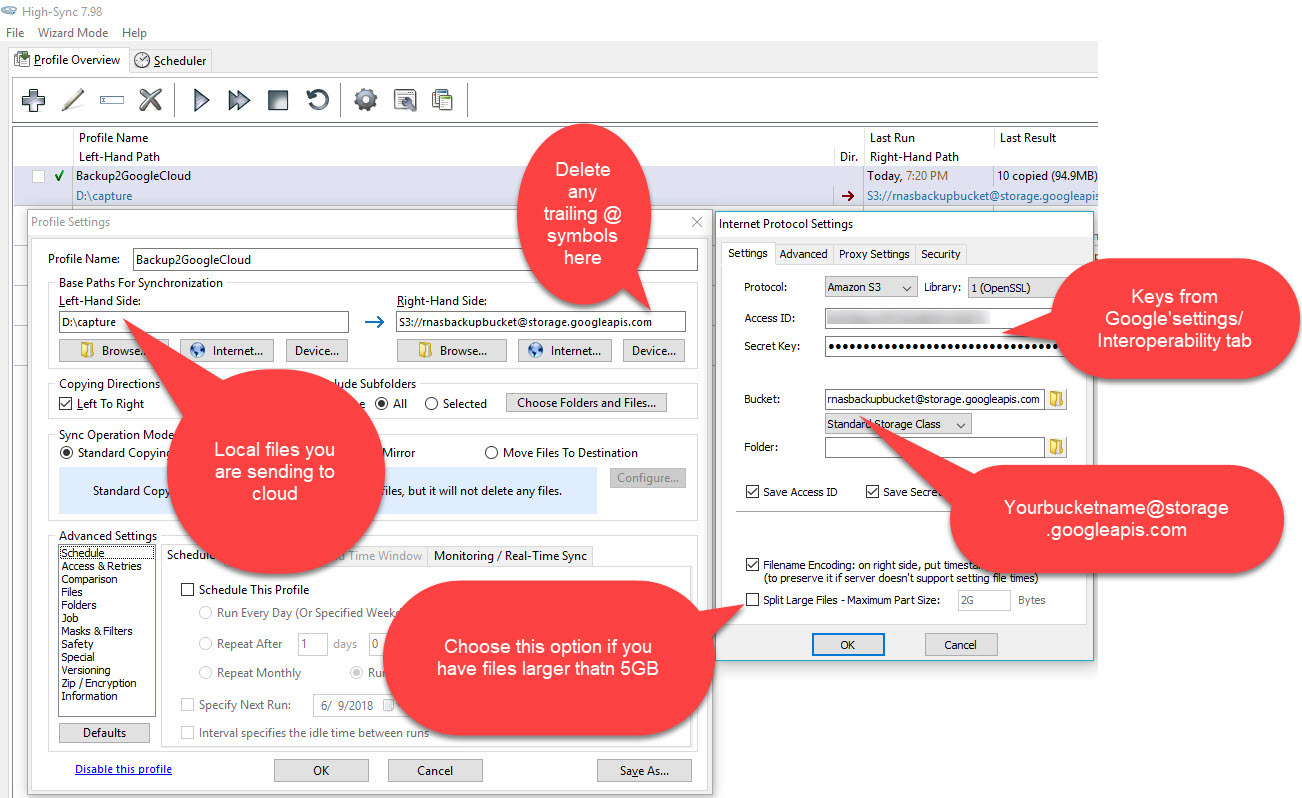
- After your account is setup and authorized, go into High-Sync and create a replication job. choose “Internet” button for your destination or source and Amazon S3 as protocol, and specify your bucketname like this: bucketname@storage.googleapis.com
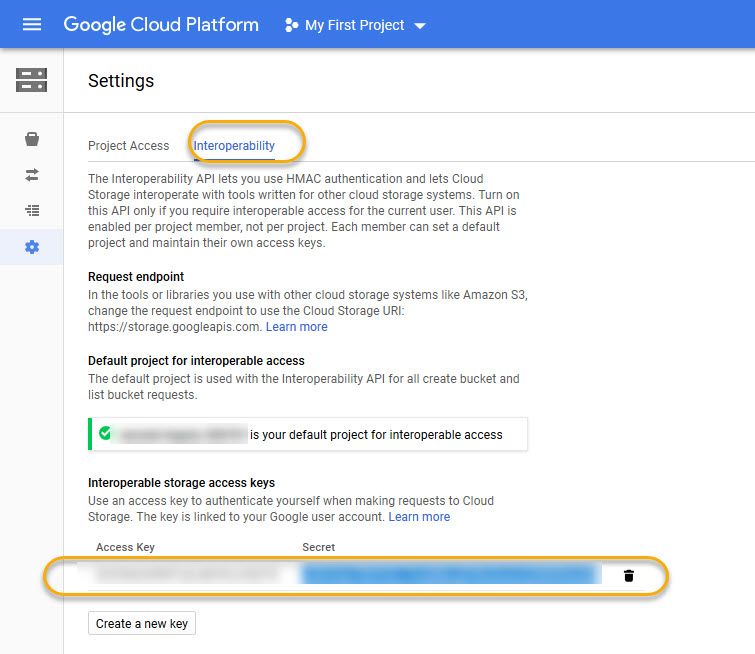
- You can get your Access ID and Secret Key via the Interoperability tab sheet of the Cloud Storage Settings page
https://console.cloud.google.com/storage/settings - Please note after you setup your keys in the S3 configuration page of High-Sync you may have to delete any trailing asterisks in the “Left hand Side” or “Right hand Side” fields if they are inserted by the program.
- Please don’t choose unsupported features like Reduced Redundancy, as they will cause errors.For more detailed instructions refer to the screenshots below, in which a free account is setup, a regional storage bucket is created, and then a job is tested with High-Sync.
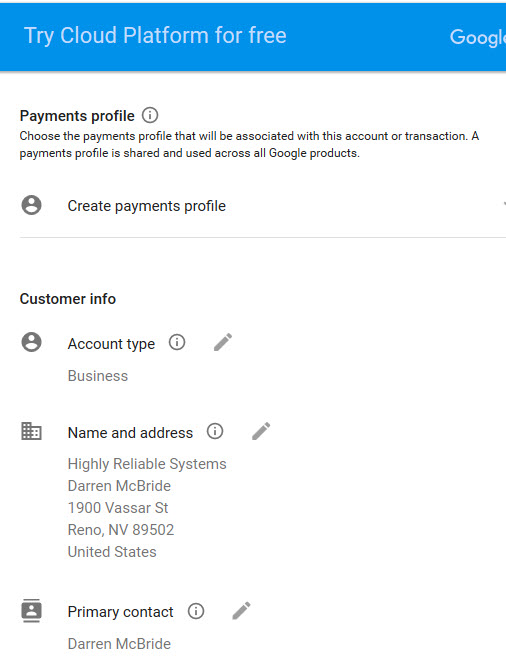
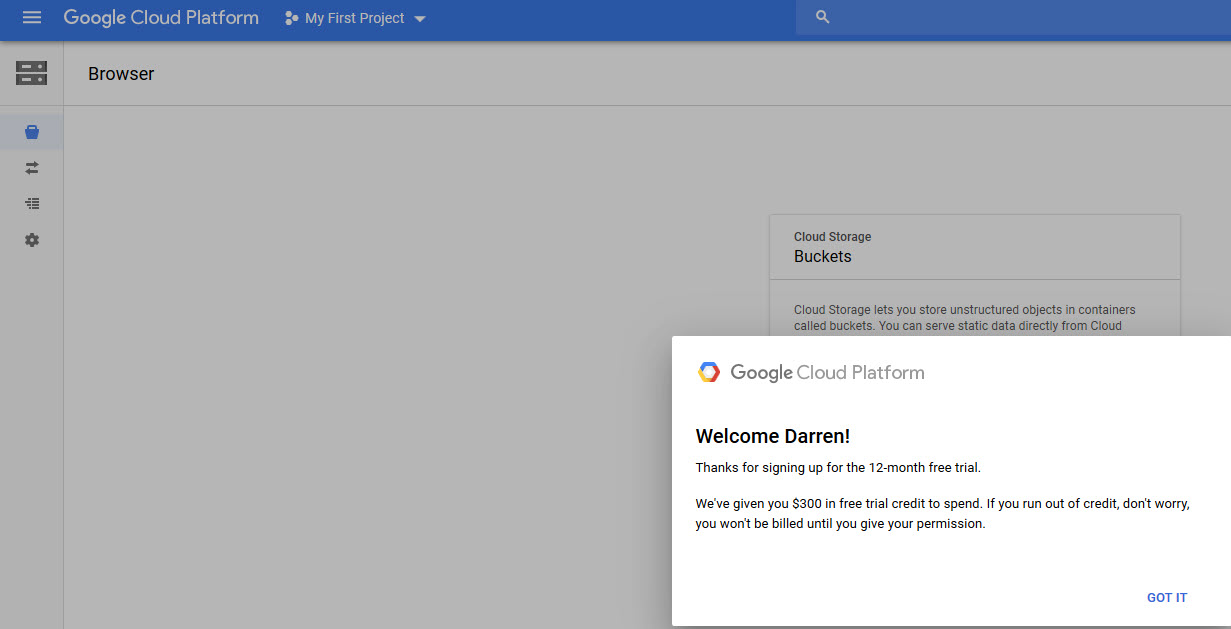
Google will require you to setup a Payments Profile. As you can see below the account is free for the first 12 months.
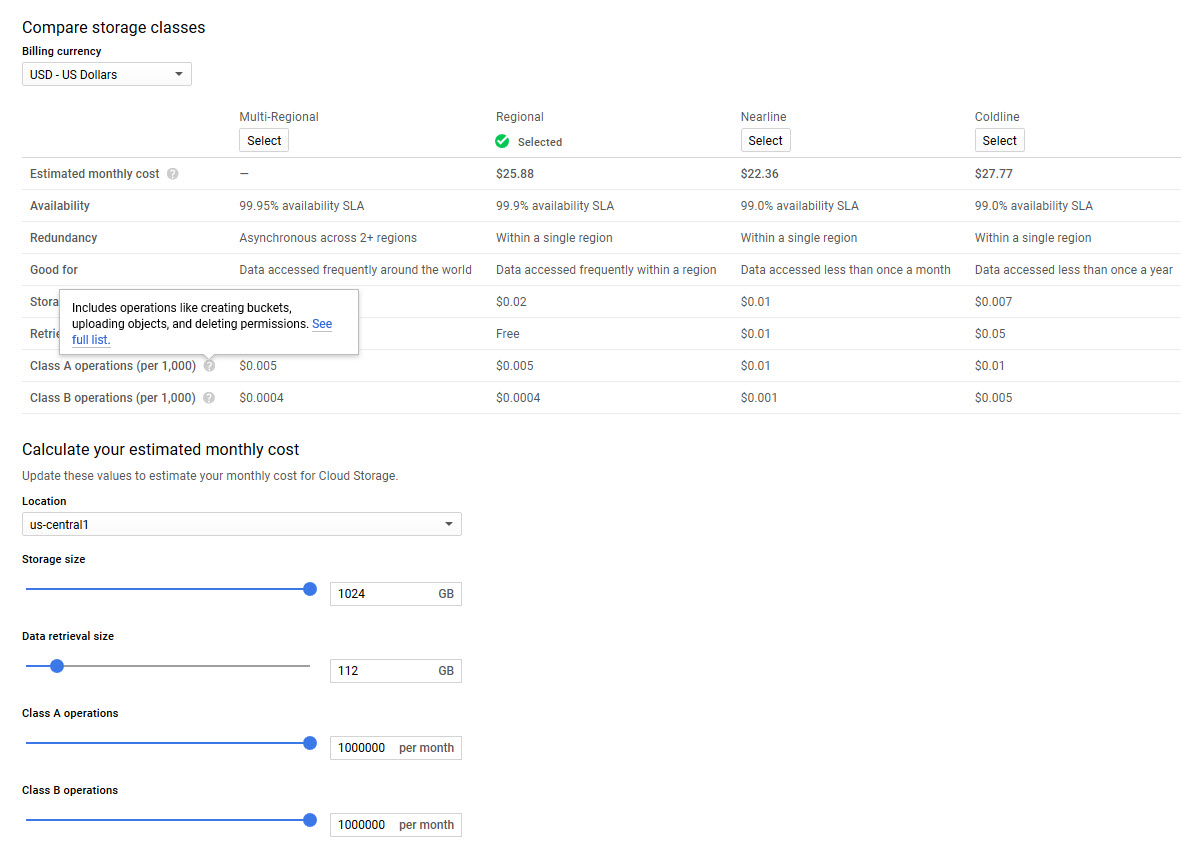
Check the pricing of the various storage classes using the online calculator.
Use the Google Storage price calculator to get a sense of what the cost will be.
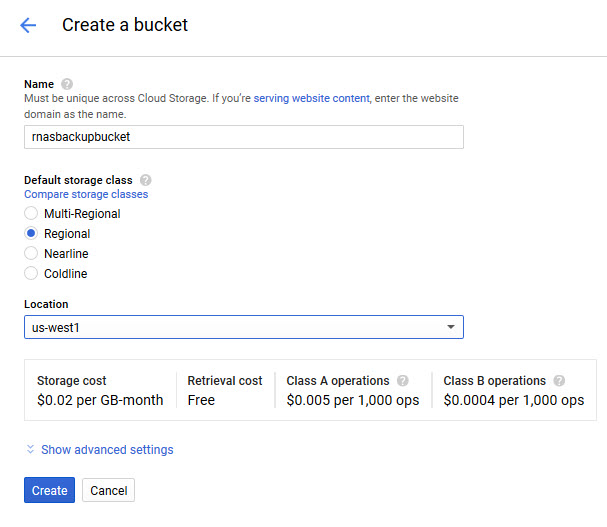
Below we create a bucket name (each bucket name must be universally unique). Unlike Wasabi, which allows dots in the bucket name, Google will warn you that use of dots requires you to prove you own that DNS name. Below we chose Regional and US west coast as our storage type and location.
After creating the bucket you should access the settings on the left side of the menu as shown below.
Now select the Interoperability tab and read the key and copy the access key and secret so that you can paste these values into High-Sync
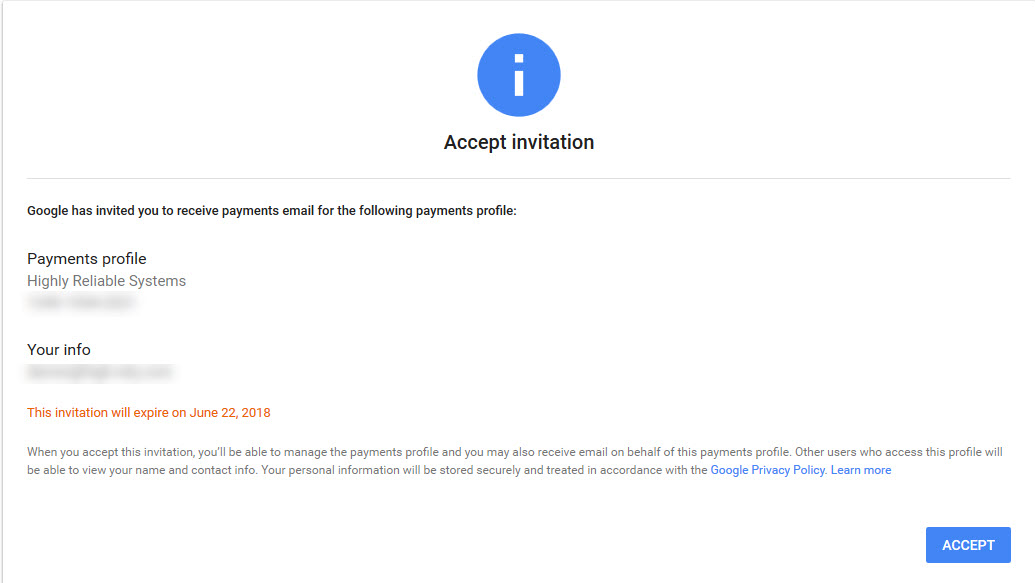
Note as part of the setup process you will also have received a google email allowing you to be setup as the administrator of this account.
Specify your bucketname like this: bucketname@storage.googleapis.com After you click “OK” it’s common for the program to add an extra @ symbol to the back of the “Right Hand Side” field. You need to delete these trailing @ symbols from this field to make it work properly. Finally, due to API limitations if you will be uploading any files larger than 5GB choose to split the files smaller than that. The default of 2GB works nicely.
That’s It! You should be able to upload your files to Google now.


